The Ultimate Guide to Prepping Your Car for Sale: How Detailing Maximizes Resale Value

When it comes to selling your car, first impressions can make or break a deal. A car that appears clean, well-maintained, and visually appealing not only attracts more potential buyers but also commands a higher resale price. One of the best ways to achieve this ‘wow’ factor is through professional-level detailing. In this comprehensive guide, we’ll explore exactly how a thorough detailing process can help you sell your car faster and for top dollar. From the initial exterior wash to the final interior touches, we’ll break down the key steps you should consider before listing your car for sale.
Table of Contents
- Why First Impressions Matter
- Building Your Detailing Toolkit
- Exterior Detailing: Where the Magic Begins
- Interior Overhaul: Making Buyers Feel at Home
- Headlight Restoration: Let There Be Light
- Fixing Small Imperfections: Dents, Dings, and Scratches
- Documentation and Transparency: Building Buyer Trust
- The Financial Upside: ROI of Detailing
- Professional vs. DIY: Choosing the Right Approach
- Preparing for Test Drives and Showings
- Conclusion
Why First Impressions Matter
Think back to the last time you purchased something used—maybe a phone or a piece of furniture. Chances are, the item’s appearance played a huge role in your decision-making process. The same holds true for cars. Most buyers instinctively judge a vehicle within seconds of seeing it. Here’s why first impressions matter so much:
- Perceived Maintenance: A clean, shiny exterior suggests you’ve taken care of the car’s mechanical upkeep as well.
- Emotional Appeal: People often make purchases based on emotions. A well-detailed car evokes pride and confidence.
- Competitive Advantage: In a crowded market, a spotless ride stands out against poorly presented competitors.
In short, a pristine-looking car piques curiosity and encourages potential buyers to take a closer look—or at least schedule a test drive.
Building Your Detailing Toolkit
Before you start, gather the right tools and products. Your detailing arsenal should include:
- Car Wash Buckets (Two-Bucket Method): One for soapy water and one for rinsing.
- Quality Car Shampoo: pH-balanced to avoid stripping protective layers.
- Microfiber Wash Mitts and Drying Towels: Prevents swirl marks and scratches.
- Clay Bar or Clay Mitt: Removes embedded contaminants in the paint.
- Polish and Compound: For paint correction to remove swirl marks and minor scratches.
- Wax, Sealant, or Ceramic Coating: Provides a protective layer and enhances gloss.
- Wheel Cleaner and Brushes: Designed to remove brake dust and grime without damaging wheel finishes.
- Interior Cleaners: Upholstery shampoo, vinyl protectant, leather conditioner, etc.
- Vacuum with Attachments: For tight spaces between seats and in the cargo area.
- Glass Cleaner: Ammonia-free formulas to avoid damaging tint.
Having quality products and the right tools ensures efficient work and professional-grade results.
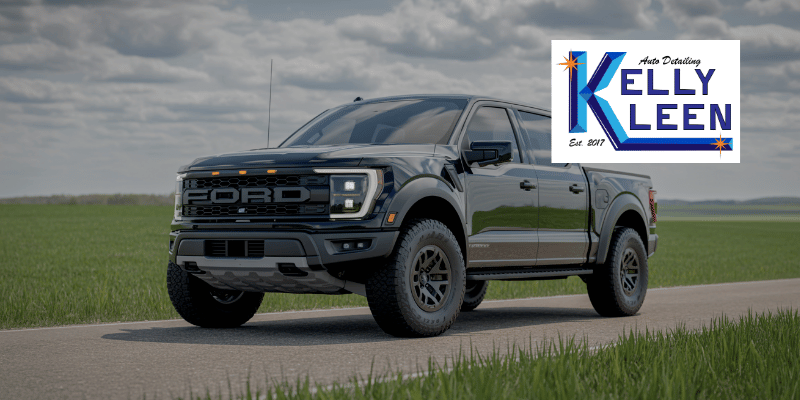
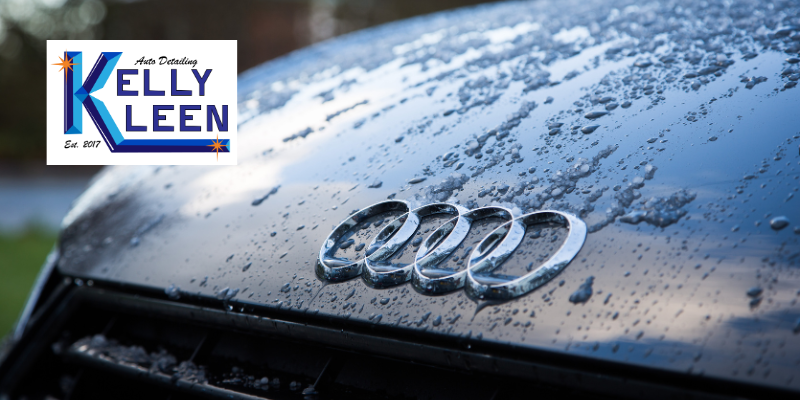
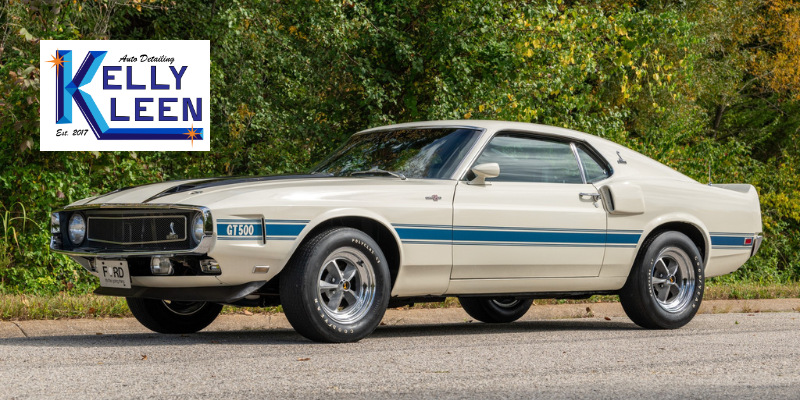
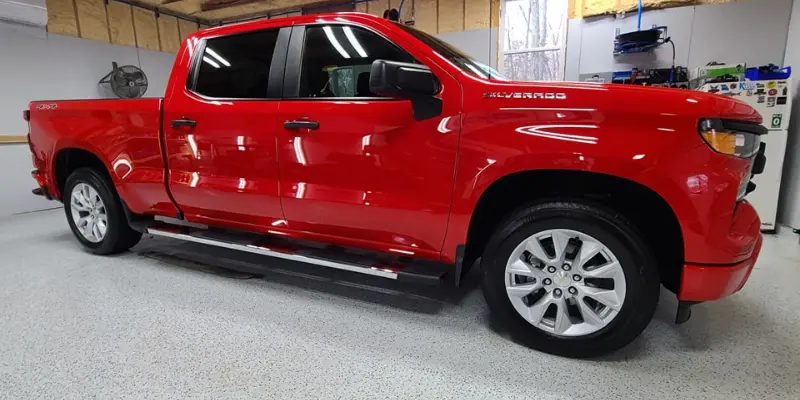
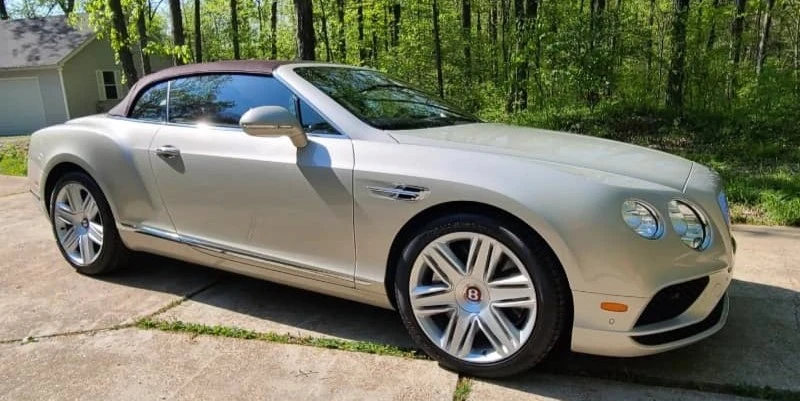
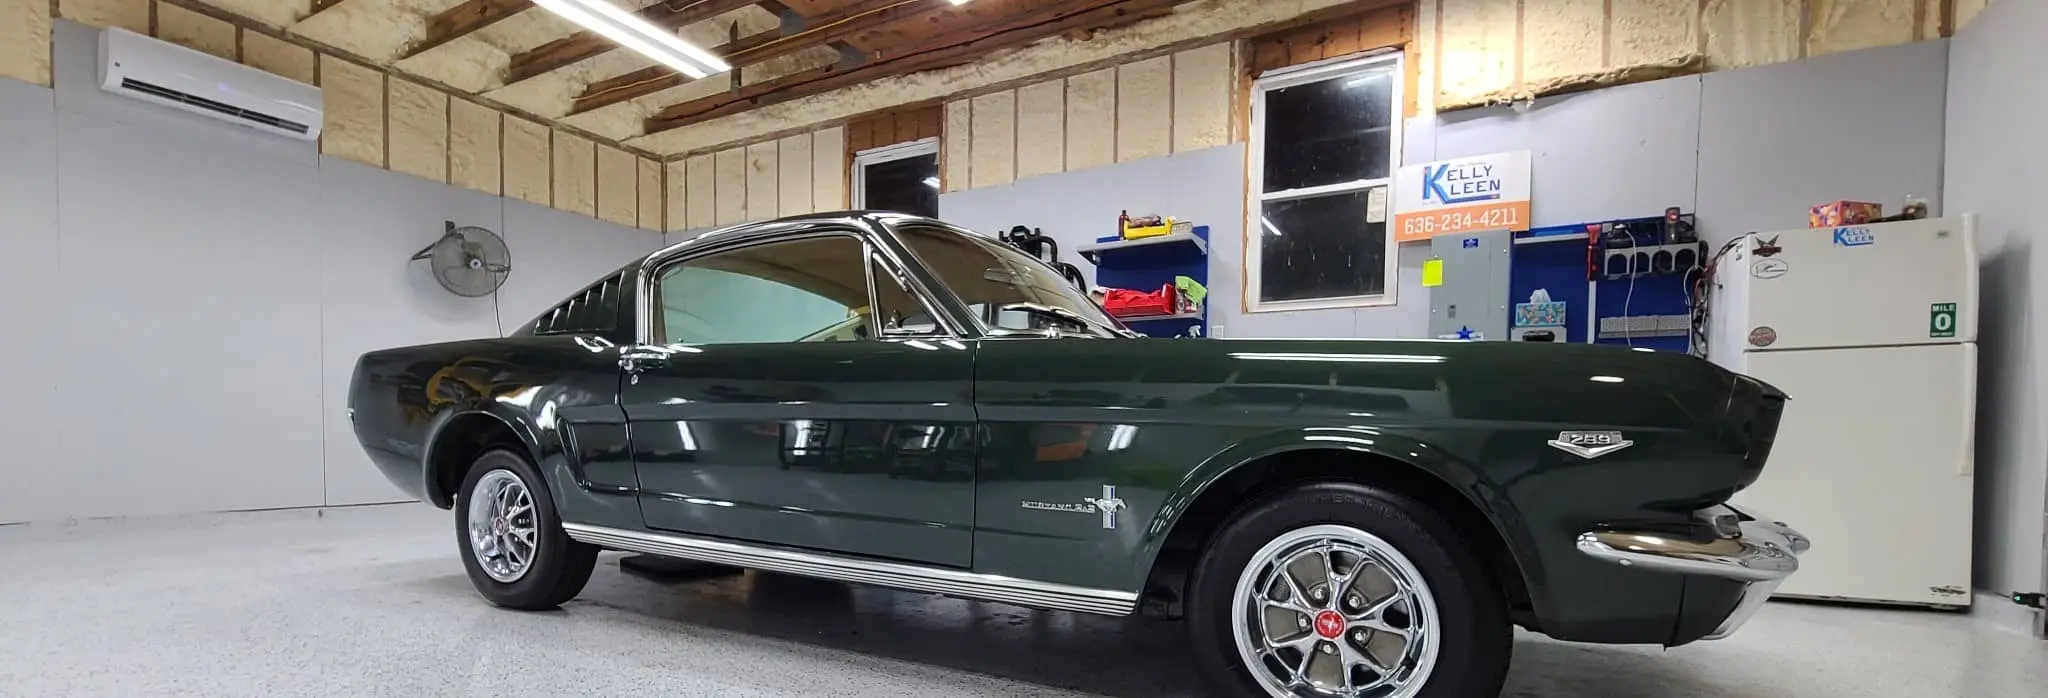
Exterior Detailing: Where the Magic Begins
Let’s start with the car’s exterior, the first thing buyers see. Proper exterior detailing does more than just wash off dirt—it's about restoring shine, protecting paint, and presenting a vehicle that looks well-maintained.
Wash and Decontamination
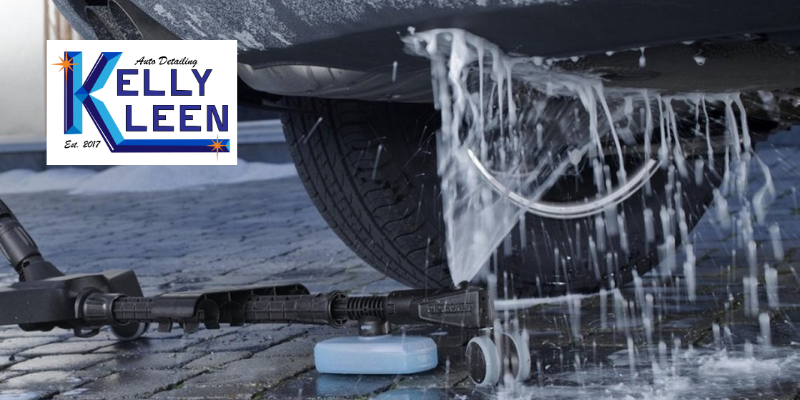
Pre-Rinse
Use a hose or pressure washer to remove loose dirt. This step helps loosen grit that could scratch your paint when you wash.Foam or Soap
Create a thick lather using car shampoo. Let it dwell for a minute or two to loosen stuck-on dirt.Two-Bucket Method
- Bucket 1: Filled with soapy water.
- Bucket 2: Filled with clean water for rinsing your mitt.
Each time you wash a section of the car, rinse your mitt in the clean bucket before reloading it with suds. This helps keep contaminants out of your paint.
Clay Bar Treatment
Even after washing, tiny contaminants can remain. Using a clay bar or clay mitt removes embedded particles like iron deposits or tar. The surface will feel smooth to the touch, which is a must for a professional finish.Drying
Use a microfiber drying towel or a car dryer to avoid water spots. Work in a shaded area if possible to prevent rapid evaporation.
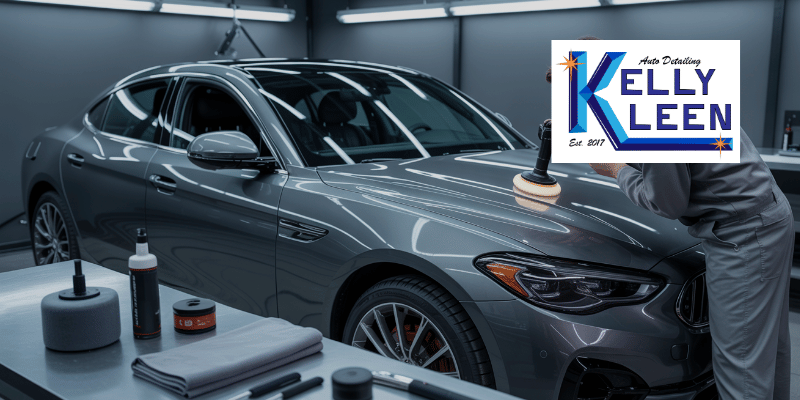
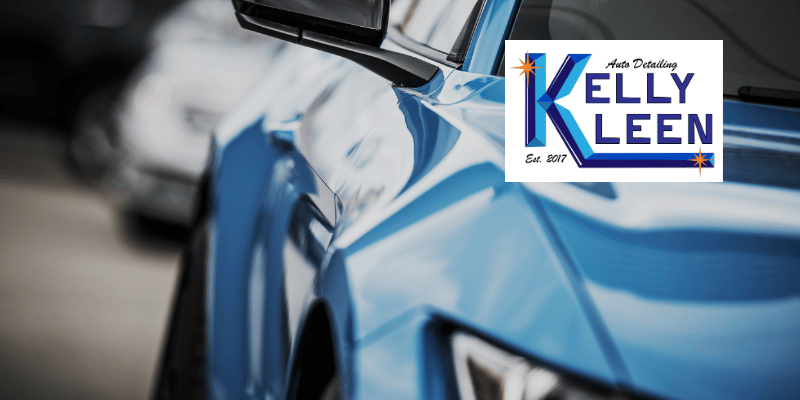
Paint Correction and Protection
Even if your car’s paint looks “okay,” closer inspection might reveal swirl marks, minor scratches, or oxidation. Addressing these issues can vastly improve appearance:
Paint Correction
- Compound: If you have deeper swirl marks or light scratches, a more aggressive compound used with a dual-action polisher can help.
- Polish: Switch to a finer polish to refine the surface. This step restores clarity and gloss.
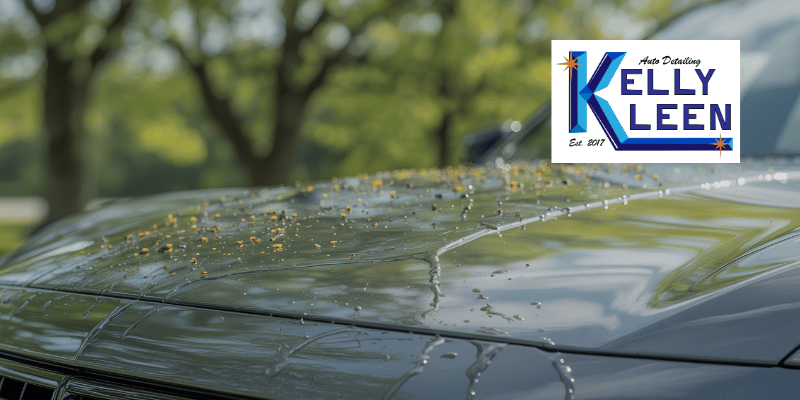
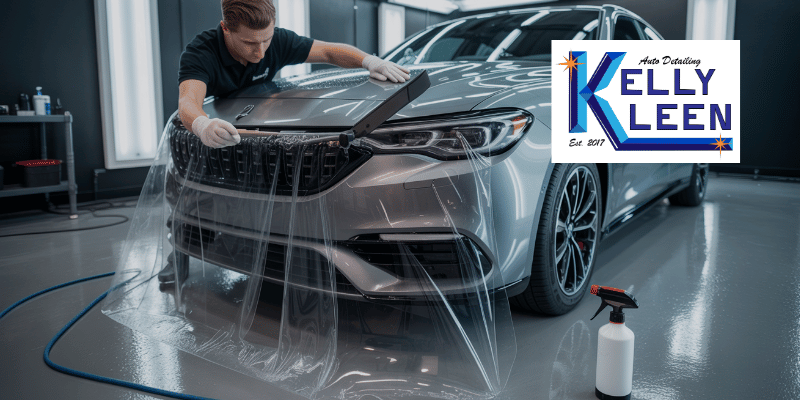
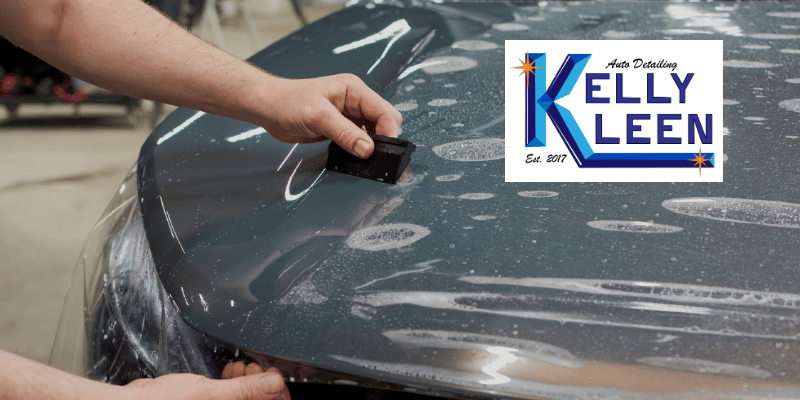
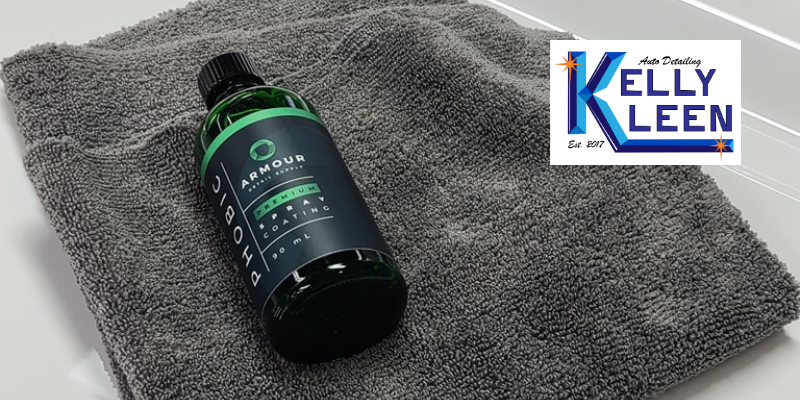
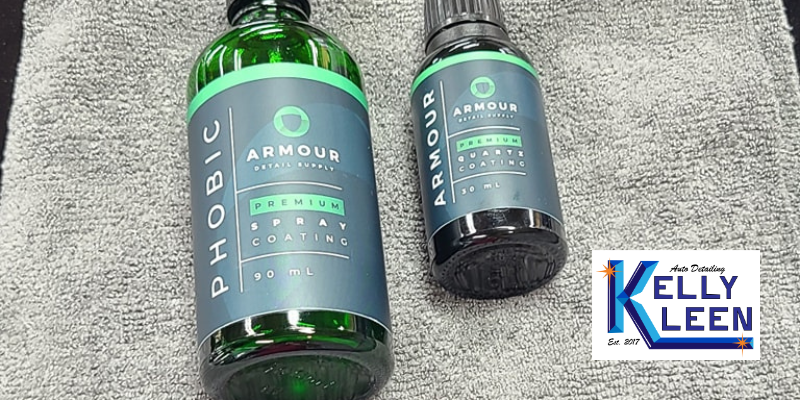
Seal, Wax, or Coat
- Wax: A natural carnauba wax offers a warm shine but requires frequent reapplication.
- Paint Sealant: Usually polymer-based for longer-lasting protection, up to 6–12 months.
- Ceramic Coating: The most durable and high-gloss option, potentially lasting years with proper maintenance.
A polished and protected exterior immediately gives the impression of a well-cared-for vehicle, allowing buyers to see its true beauty.
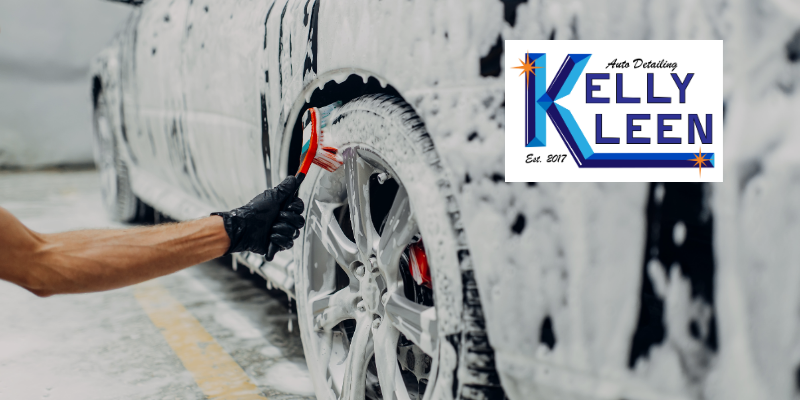
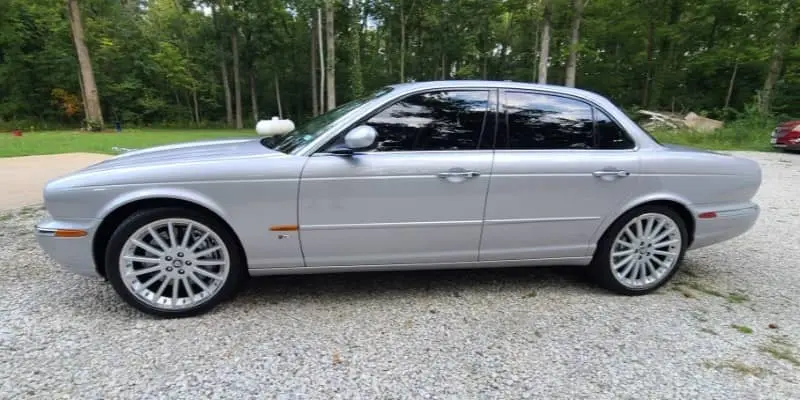
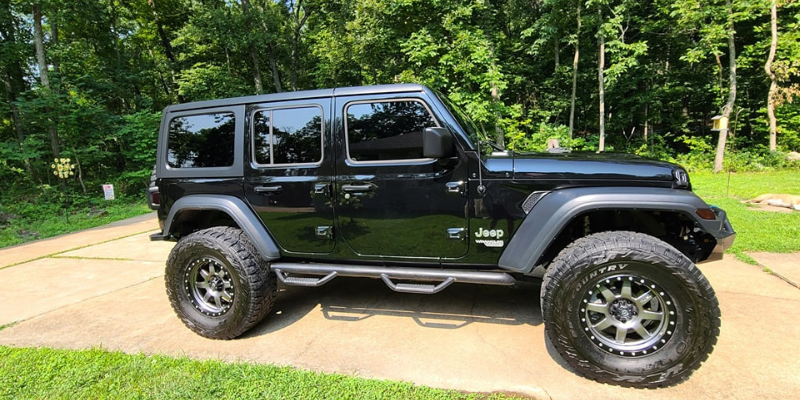
Wheel and Tire Care
Don’t let dirty wheels and faded tires sabotage your car’s curb appeal:
Wheel Cleaner
Use a dedicated wheel cleaner safe for your specific wheel finish (alloy, chrome, painted, etc.). Allow it to dwell, then use wheel brushes to agitate brake dust.Tire Scrubbing
Brake dust and road grime embed into tire sidewalls. Use a stiff brush and a tire-specific cleaner to scrub them clean.Tire Dressing
After drying, apply a tire dressing. Choose a product with a matte or satin finish for a clean, new-tire appearance rather than a shiny, overly slick look.Wheel Sealant or Ceramic Spray
A protective coat on your wheels makes cleaning easier down the line and shows buyers that you care about every detail.
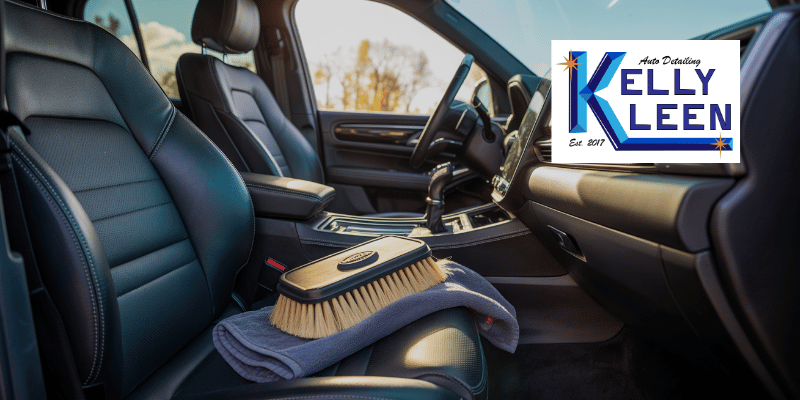
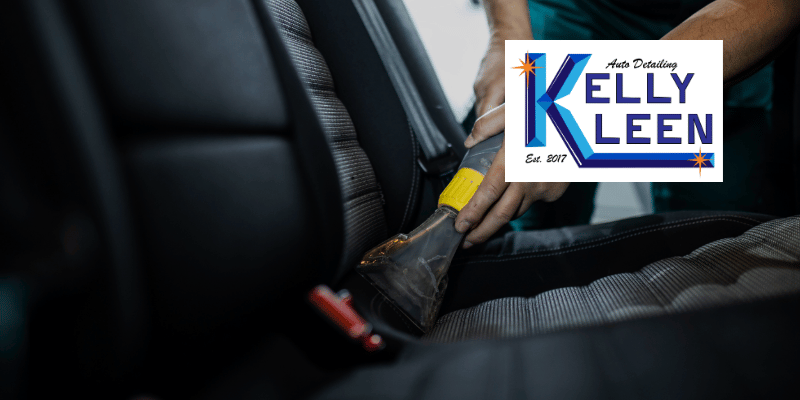
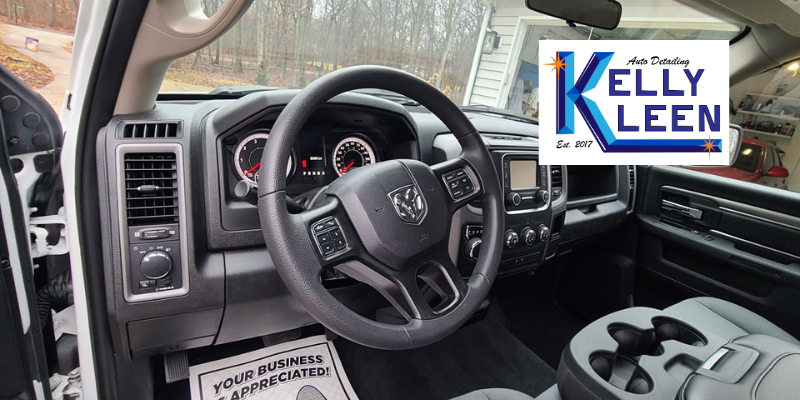
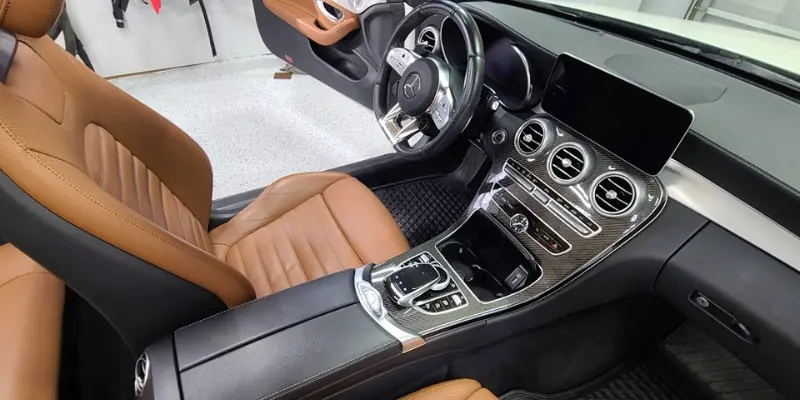
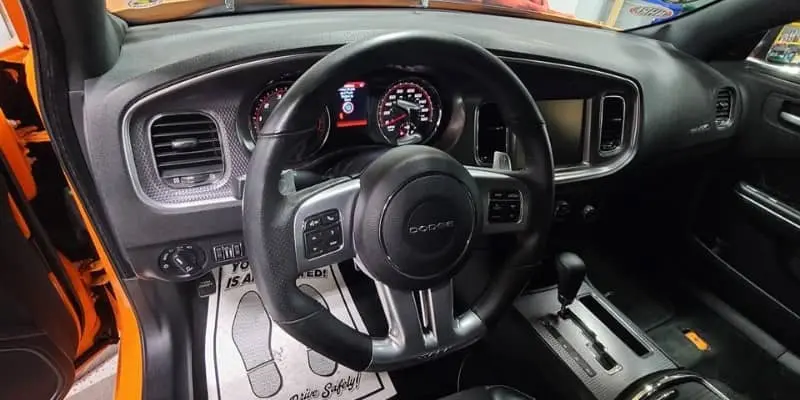
Interior Overhaul: Making Buyers Feel at Home
Once a potential buyer steps inside, the last thing you want is to lose that initial ‘wow’ factor. A clean, fresh-smelling cabin signals that you’ve treated the car with care.
Deep Cleaning Upholstery and Carpets
Remove Clutter and Trash
Clear out personal items and vacuum up loose debris. Buyers want to envision themselves in the car, so remove distractions.Shampoo and Extract
- Fabric Seats: Use a carpet or upholstery cleaner, then follow with a hot-water extractor if available.
- Carpets and Floor Mats: Target stubborn stains with a pretreatment. Pay extra attention to high-traffic areas like the driver’s side floor.
Leather Conditioning
If you have leather seats, apply a pH-balanced leather cleaner first, then a conditioner to keep them supple. Cracked or shiny leather is a red flag for neglect.
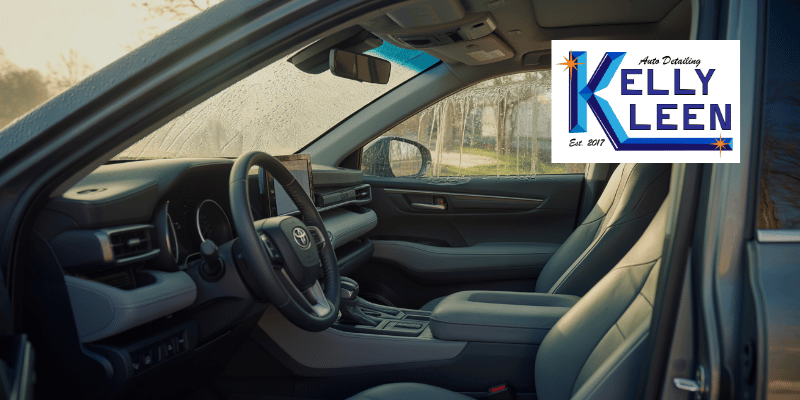
Dashboard, Trim, and Electronics
Dust and Vacuum
A soft-bristle brush or compressed air can remove dust from vents, seams, and around switches.Screen Care
Infotainment systems and digital displays can be sensitive. Use a microfiber towel with an electronics-safe cleaner. Avoid ammonia-based products that may damage surfaces.Protectant
Choose a non-greasy, UV-protectant for plastic or vinyl dashboards and door panels. Aim for a matte finish instead of a glossy shine.
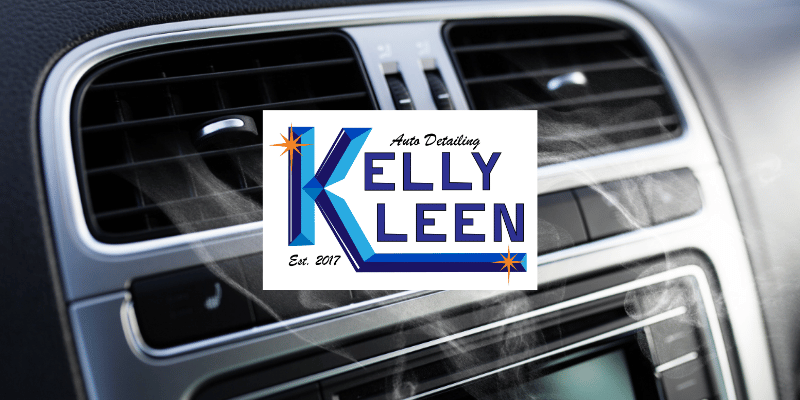
Odor Removal and Air Quality
Odor Neutralizers
Lingering smells (smoke, pets, or food) can be a deal-breaker. Use enzyme-based cleaners or an ozone treatment for stubborn odors.Cabin Air Filter
Replacing a musty cabin filter is a quick fix that can freshen up the air inside.
A neat and odor-free interior helps potential buyers imagine driving off in a comfortable, clean vehicle, increasing the likelihood of a successful sale.
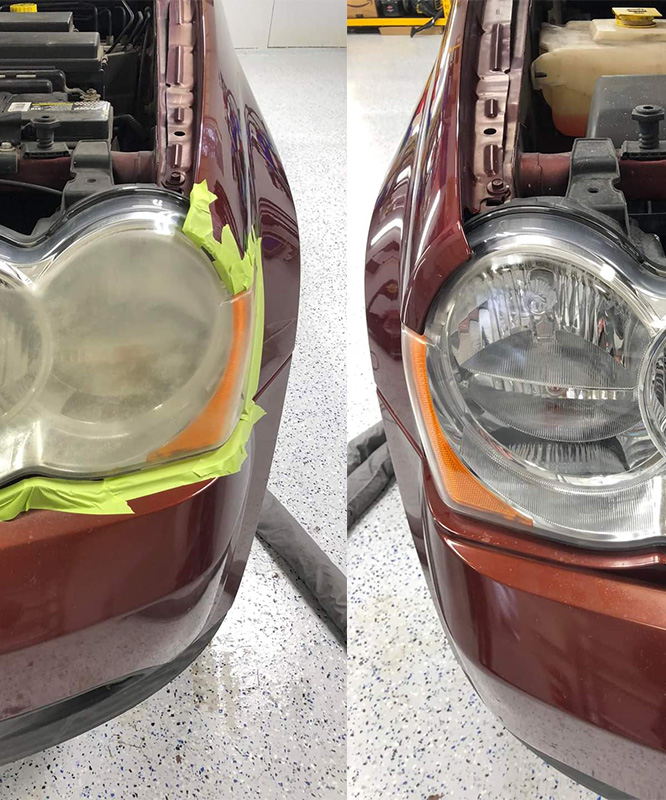
Headlight Restoration: Let There Be Light
Cloudy or yellowed headlights not only look bad but also reduce nighttime visibility. Restoring them can significantly lift your car’s overall appearance.
Sanding
Wet-sand the headlight lens with increasingly fine grits of sandpaper (e.g., 800 -> 1500 -> 2000).Polishing
Use a plastic polish with a dual-action polisher or even a drill attachment to remove haze.Sealant or Protective Film
Once clear, protect the lenses with a sealant or a UV-resistant film. This helps prevent future oxidation.
Restored headlights add a crisp, modern touch and indicate that no corner of the car was overlooked.
Fixing Small Imperfections: Dents, Dings, and Scratches
While deep paint scratches or large dents may need professional bodywork, minor imperfections can often be tackled at home or via paintless dent removal:
Paintless Dent Repair (PDR)
Trained technicians use specialized tools to massage dents out from behind the panel. This method avoids repainting.Touch-Up Paint
If you have small chips or scratches, matching touch-up paint can mask them. Apply carefully and buff once cured.Avoid Overkill
Small nicks may not drastically impact your sale price. Decide if the repair cost is worth the potential boost in perceived value.
Documentation and Transparency: Building Buyer Trust
Detailing goes beyond appearances. Honest documentation of all maintenance and detailing efforts can build significant buyer confidence.
Service Records
Compile recent oil changes, tire rotations, and any major repairs. If you have receipts, all the better.Detailing Receipts
If you used a professional service for a thorough cleaning, show proof. This highlights your commitment to the car’s upkeep.Maintenance Logs
A simple spreadsheet noting all service dates, parts replaced, and mileage helps assure buyers you haven’t missed critical maintenance steps.
Being transparent about your car’s history sets you apart from sellers who have no records or can’t answer simple maintenance questions.
The Financial Upside: ROI of Detailing
It’s natural to wonder if the time and money spent on detailing will pay off. In most cases, a well-detailed car does see a notable return on investment.
- Higher Asking Price: Buyers are willing to pay more for a car in like-new condition.
- Faster Sale: A polished listing with attractive photos often attracts more inquiries and quicker offers.
- Reduced Haggling: When a vehicle looks immaculate, there’s less room for buyers to nitpick and drive down the price.
A small upfront investment in detailing can yield a more significant final sale price—often well beyond the cost of the detailing itself.
Professional vs. DIY: Choosing the Right Approach
Some sellers take pride in detailing their cars themselves; others prefer to outsource. Which option is best for you?
Pros of DIY
- Cost Savings: You only pay for products and tools, not labor.
- Personal Satisfaction: Many enjoy the hands-on process and the sense of accomplishment.
Cons of DIY
- Time-Intensive: A full detail can take hours—if not days—especially if it’s your first time.
- Learning Curve: Improper techniques or low-quality products may result in swirl marks or subpar results.
Pros of Professional Detailing
- Expertise and Equipment: Pros have high-grade polishers, specialized chemicals, and experience to handle challenging tasks.
- Efficiency: They can typically complete the job more quickly and effectively.
Cons of Professional Detailing
- Cost: Quality detailing services aren’t cheap.
- Scheduling: You’ll need to arrange an appointment and be without your car during the service.
For many, hiring professionals for at least the paint correction stage makes sense, especially if you want that showroom finish in a tight timeframe.
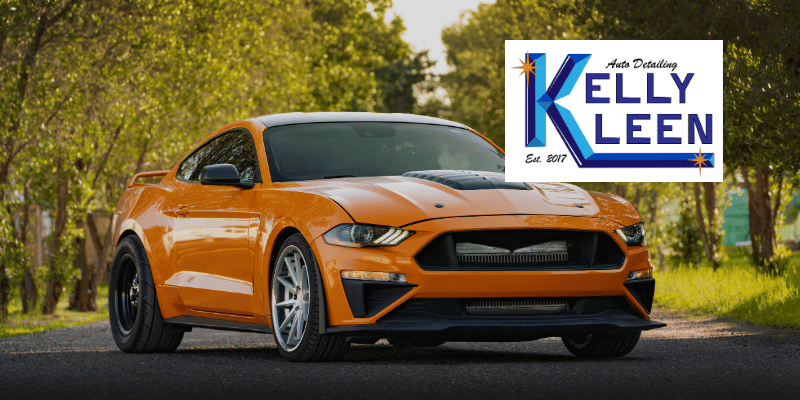
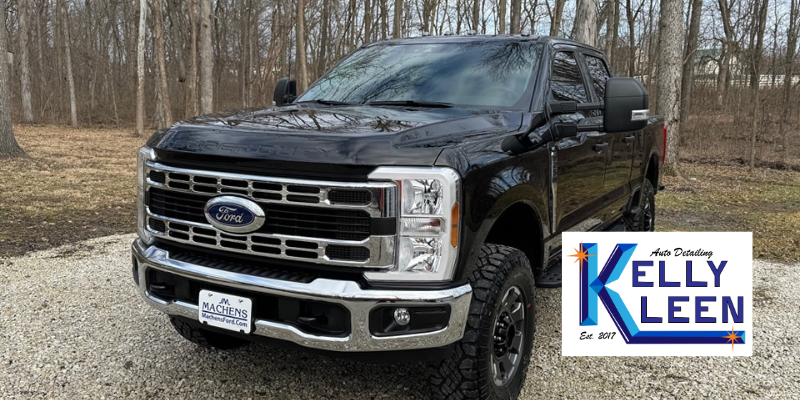
Preparing for Test Drives and Showings
You’ve detailed the car meticulously—now it’s time to keep it looking pristine until the sale. Here are a few final tips:
Keep It Clean
- Avoid driving on dirty or muddy roads if you can.
- Use a quick detail spray to remove any dust or fingerprints from curious passersby.
Be Ready for Questions
Potential buyers will ask about mechanical history, accident reports, and customizations. Have your documentation handy.Provide a Polished Experience
- During test drives, have the interior smelling fresh and free from clutter.
- Double-check tire pressure and fluid levels so the car drives smoothly.
Park Strategically
When meeting potential buyers, park in a well-lit, open area. Good lighting highlights your car’s best features and shows you have nothing to hide.
Conclusion
Prepping your car for sale is all about showcasing its best qualities, both visually and mechanically. By investing time (and possibly some money) into a thorough detailing process, you send a clear message to potential buyers: This car has been cared for meticulously.
From the gleaming exterior and restored headlights to the fresh interior and organized documentation, each step you take reduces buyer hesitation and invites stronger offers. While detailing can be done on your own if you have the patience and know-how, partnering with professionals for complex tasks—such as paint correction—can lead to even higher returns.
Ultimately, a well-detailed vehicle not only sells faster but also attracts better offers, putting more money in your pocket and ensuring a smoother transaction. Make detailing a cornerstone of your selling strategy, and you’ll reap the rewards when the right buyer comes along.